Getting started with DNS Firewall
DNS Firewall provides comprehensive DNS based security by leveraging accurate DNS threat intelligence, configurable content filtering rules, custom allow and block lists, category and application filters, and advanced analytics to protect an enterprise network from ever-evolving cyberattacks. DNS Firewall provides effective and accurate protection against DNS based threats such as phishing, ransomware attacks, malware, spyware, cryptocurrency mining, DGA, data exfilteration using DNS tunneling attacks and so on.
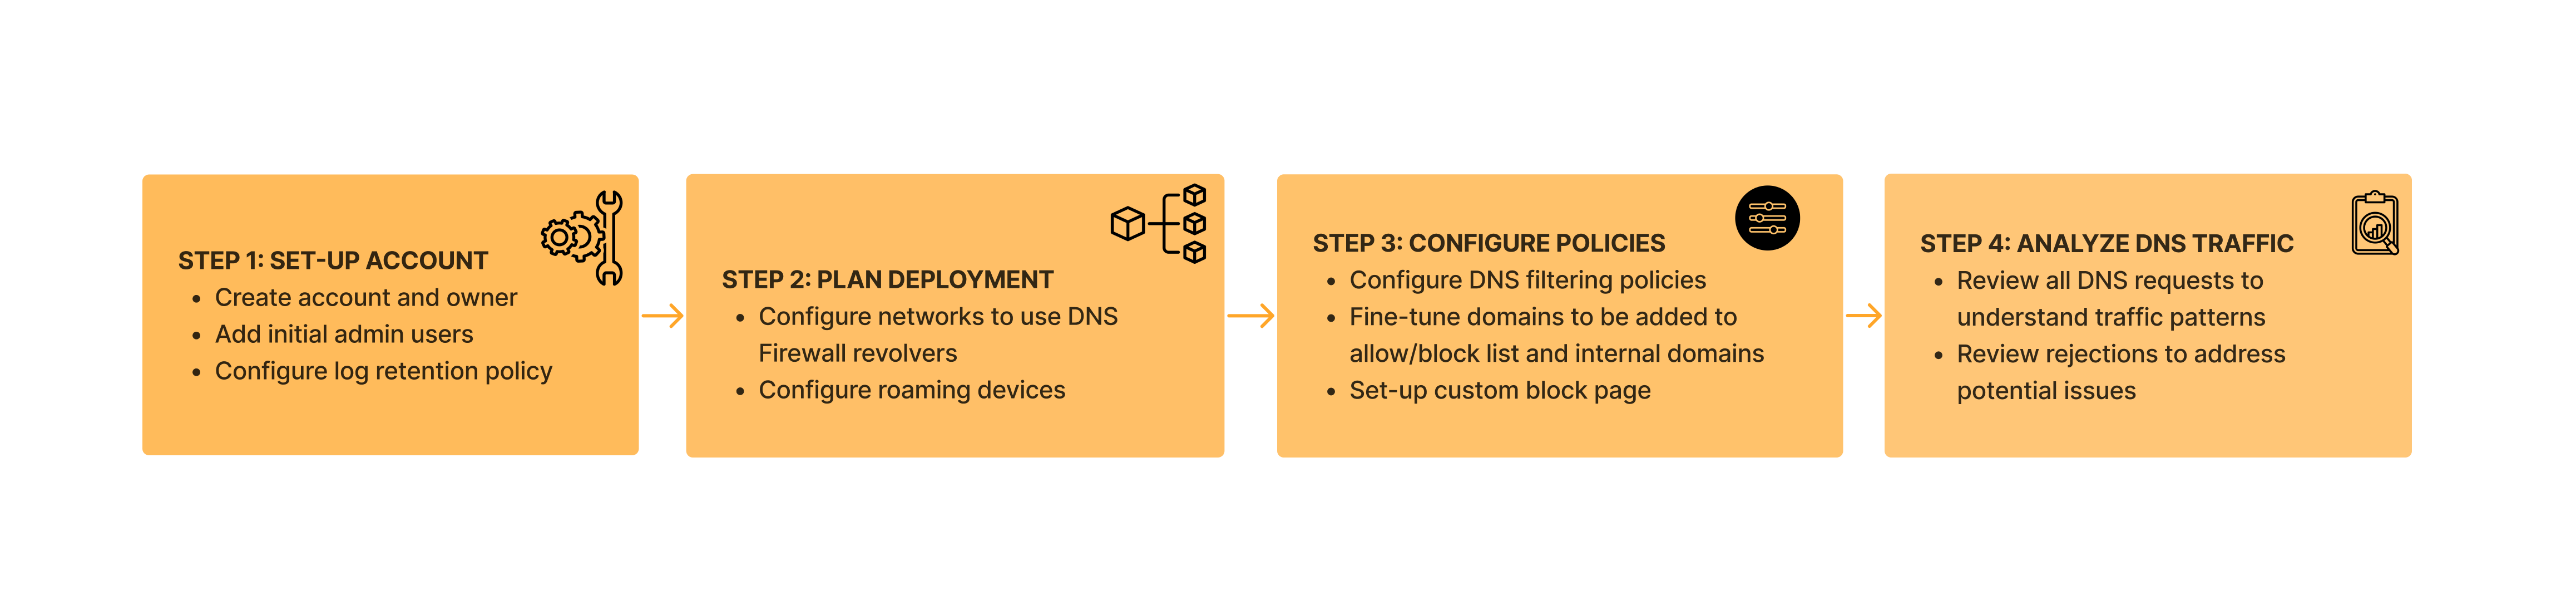
To get started follow the steps below to have a fully functional DNS layer protection.
Estimated time to set-up: 30 mins
Step 1: Account set-up
To get started using DNS Firewall, you need an active enterprise account with DNS Firewall. To manage your DNS Firewall account refer Account Management.
Step 2: Deployment
There are two key modes of deploying DNS Firewall in a distributed enterprise network - A public network or end point devices (Roaming clients). An organization can combine both modes of deployment as appropriate.
- For network deployment refer Deploy Network
- For roaming client deployment refer Deploy Roaming clients
Step 3: Policies
Define DNS policy to manage security settings, allow lists, block lists, content and application filtering, geolocation restrictions and so on
- Security Policies Security Policies
- Content Filtering Policies Content and App Filtering Policy
- Domain Management Domain Management
- Block page configuration Custom block page
Step 4: Analyze DNS requests and rejection activity
- View all DNS requests in near realtime DNS Requests
- Fine-tune policies by reviewing rejections DNS Rejections
Other topics
In addition to the above steps, you may want to explore the below options based on your set-up and specific requirements:
- Custom block page Custom block page
- Domain search Domain Search
- Profile management Profile Management
- FAQs FAQs